 July 15, 2026A car accident can shake your world in ways you don’t expect. Even a seemingly minor collision can leave your…
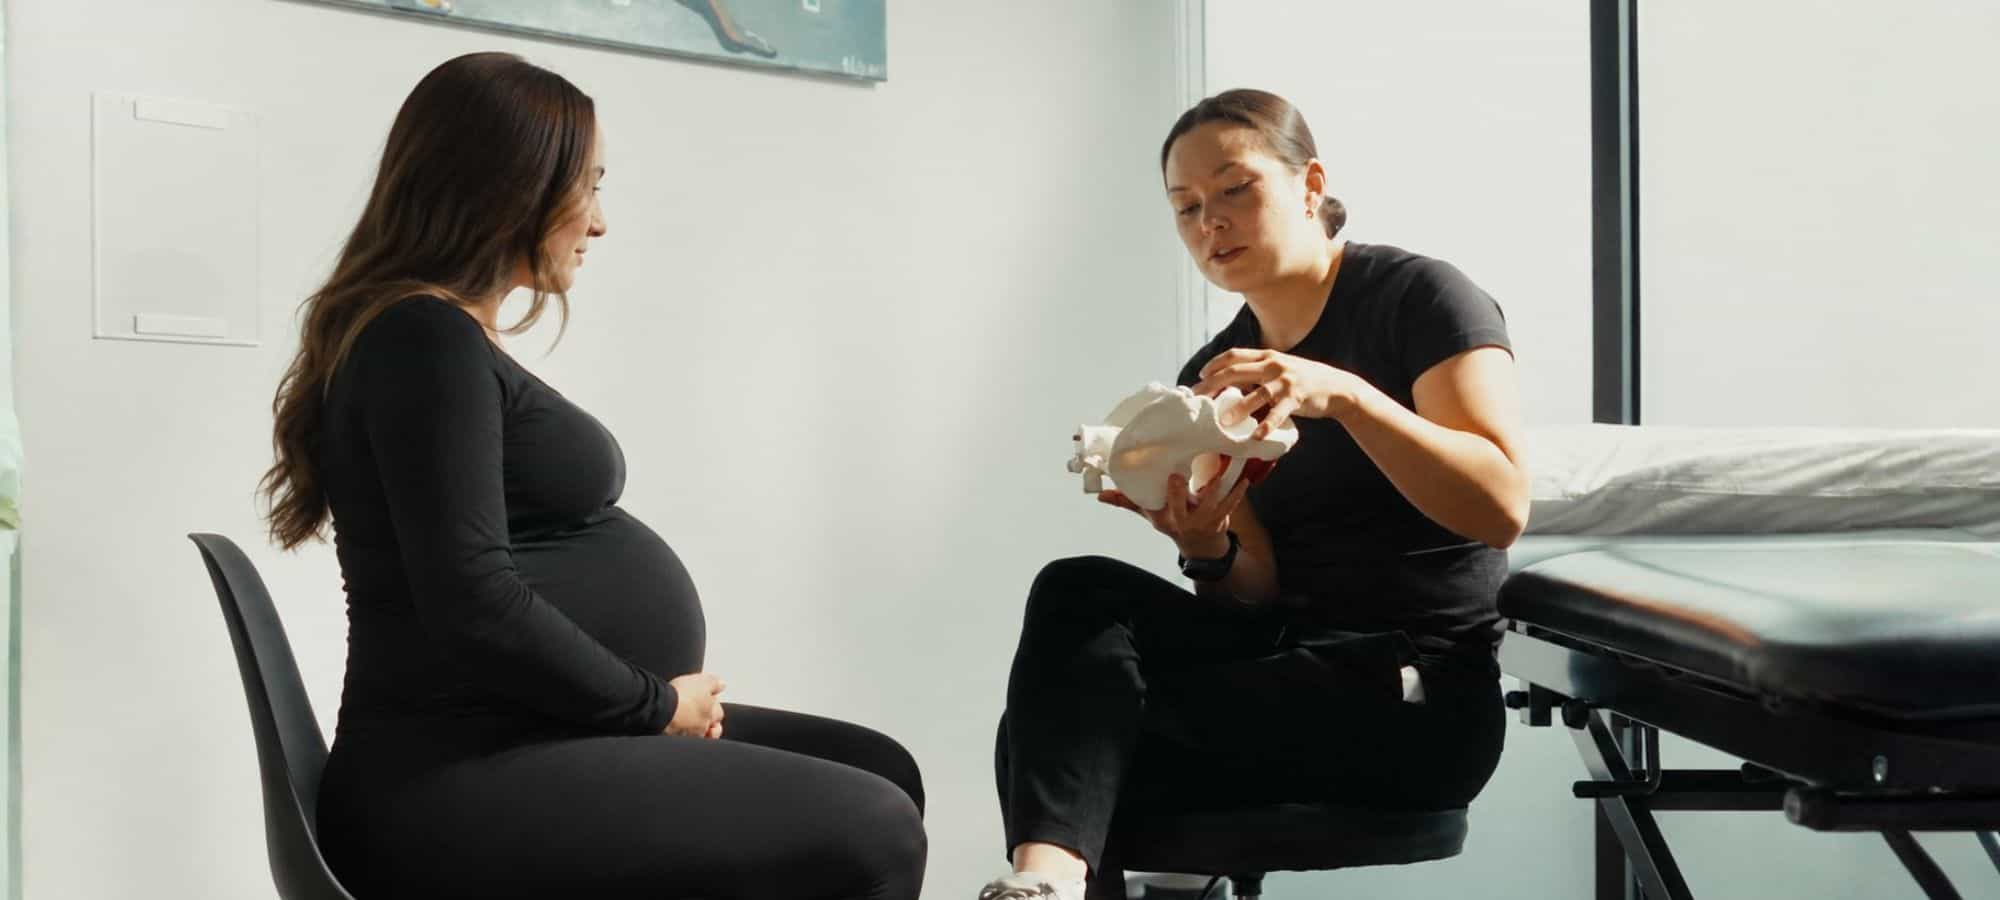
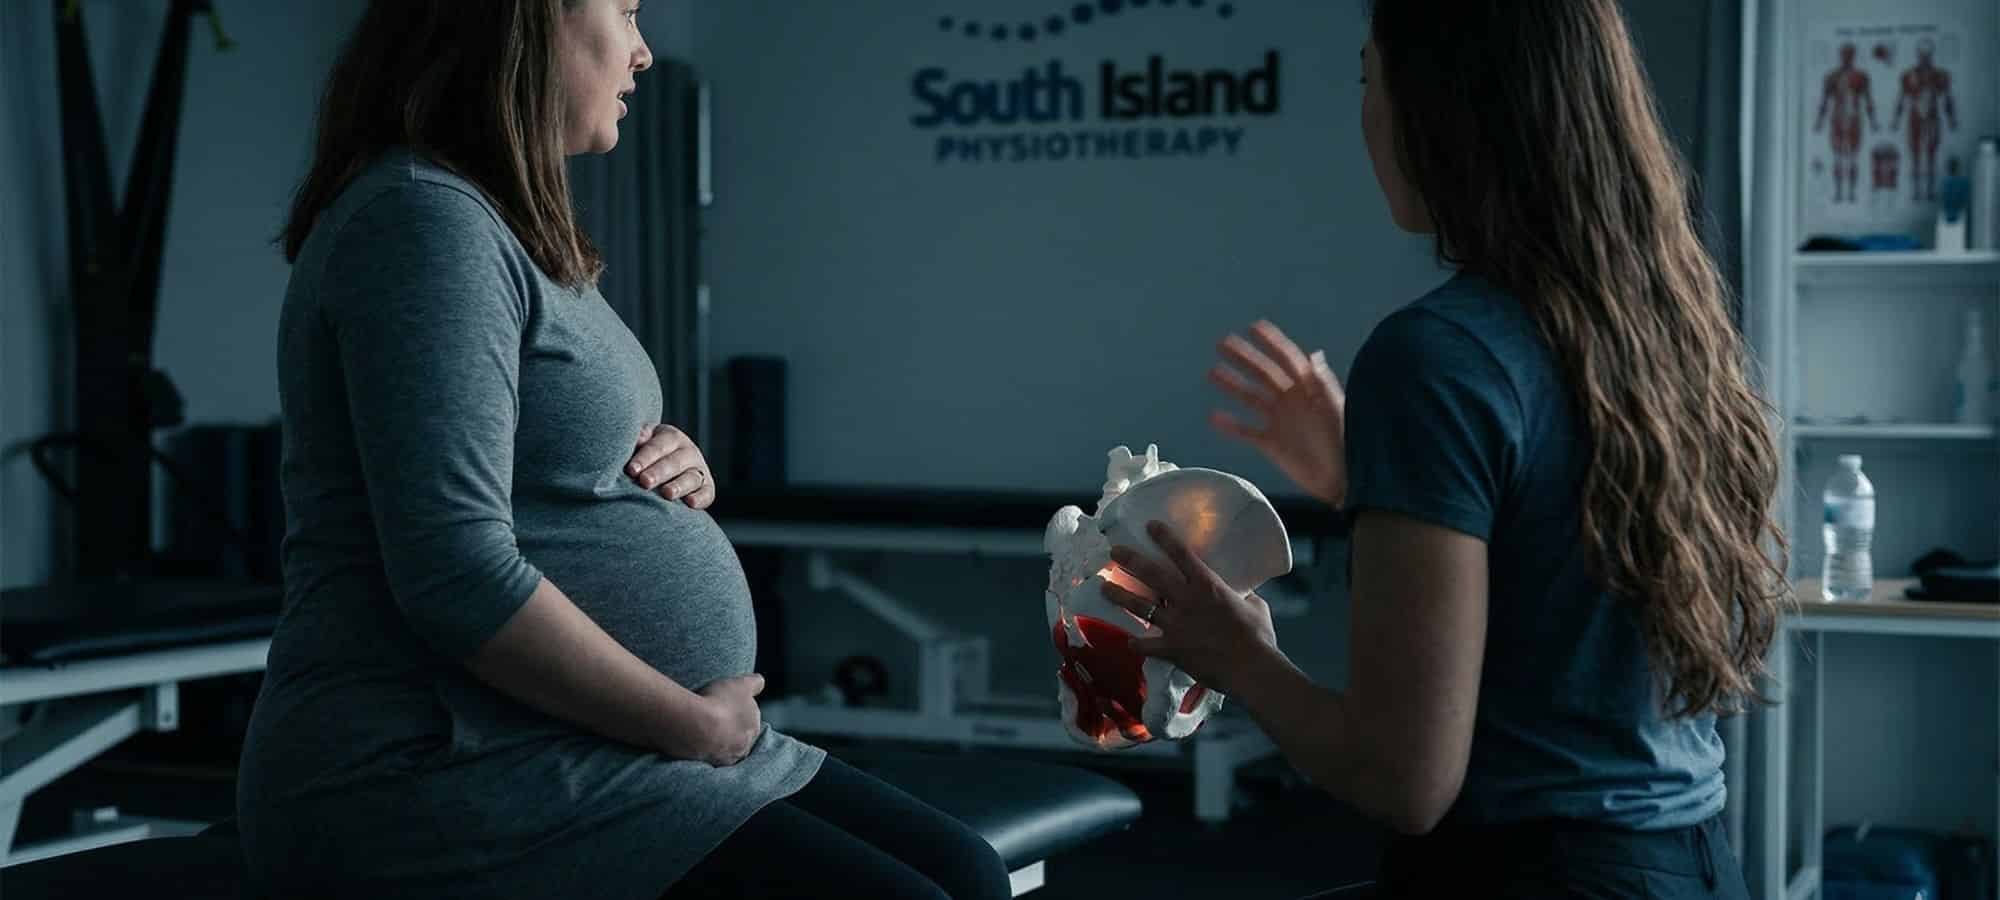
 July 9, 2026How Evidence-Based Physiotherapy Helps Pregnant Women in Greater Victoria Find Relief Pregnancy is one of the most extraordinary experiences of…
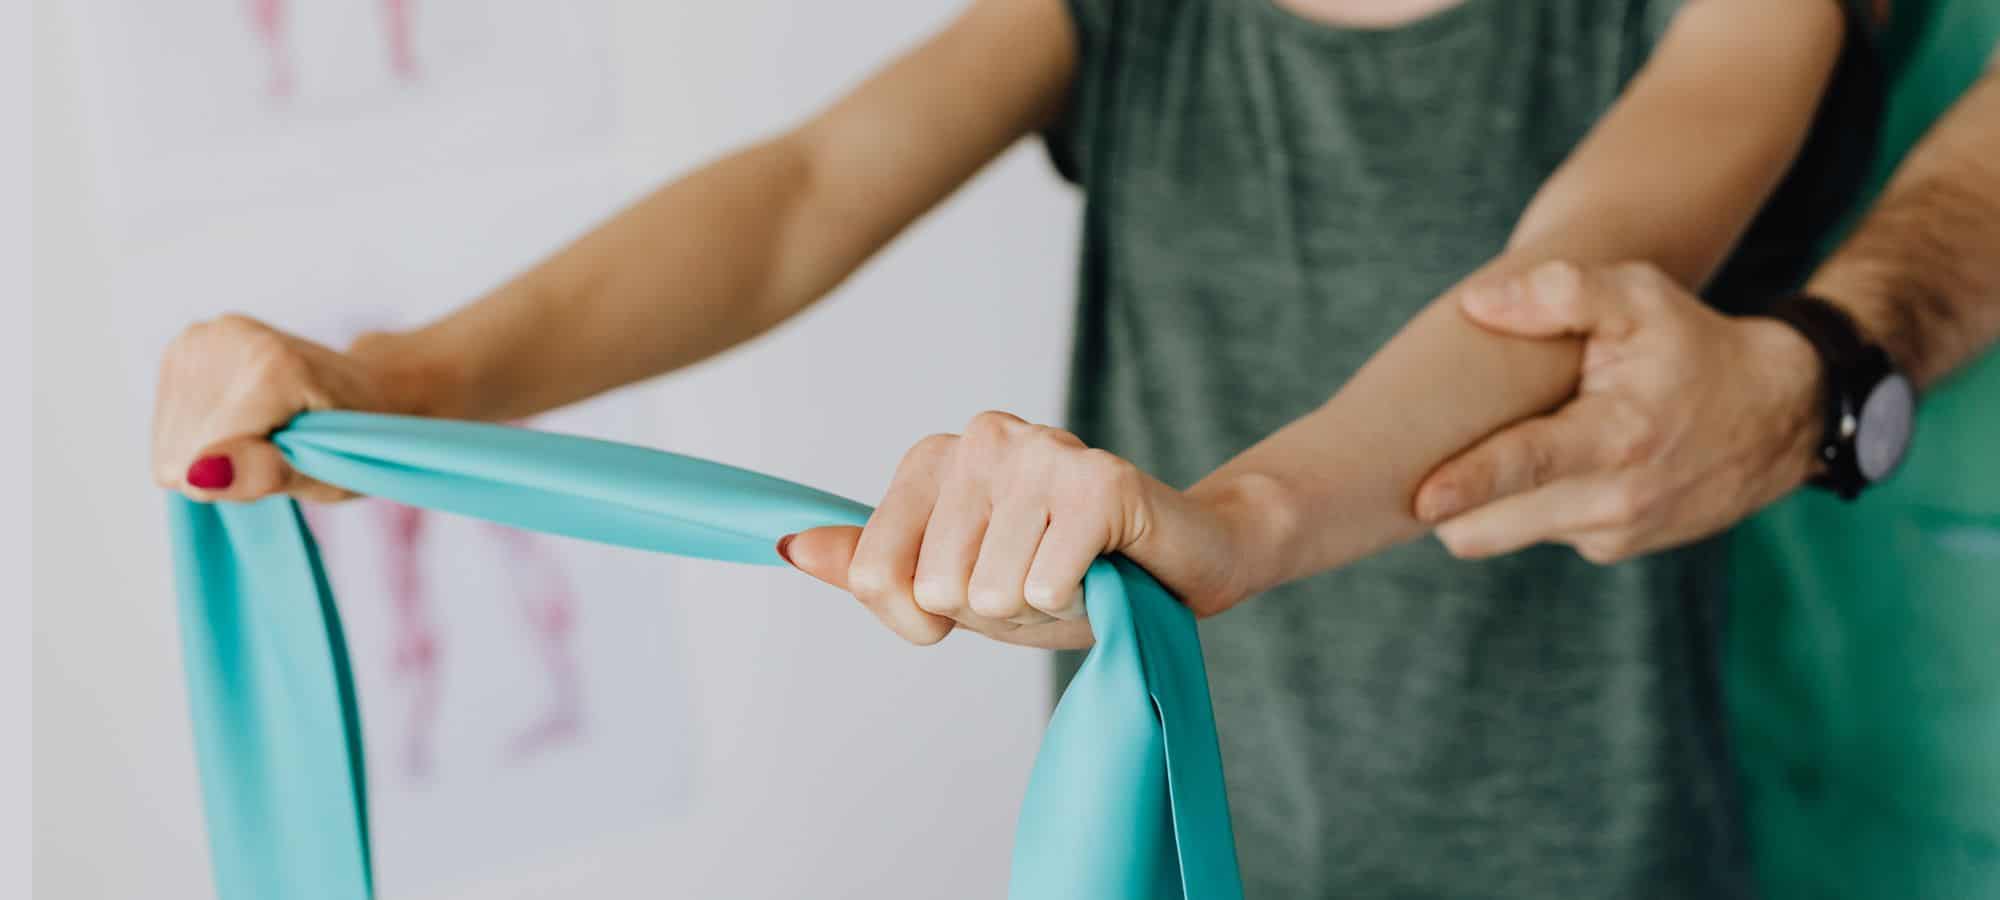
- June 10, 2026Strengthen Your Core, Transform Your Life Core rehabilitation is about far more than achieving a “six-pack.” A strong, functional core…
- June 3, 2026Shin splints can be a runner’s frustrating foe, sidelining you from your passion. But with the right knowledge and proactive…
 May 13, 2026Concussion recovery is a journey that demands patience and a structured approach, especially for athletes eager to return to sport.…
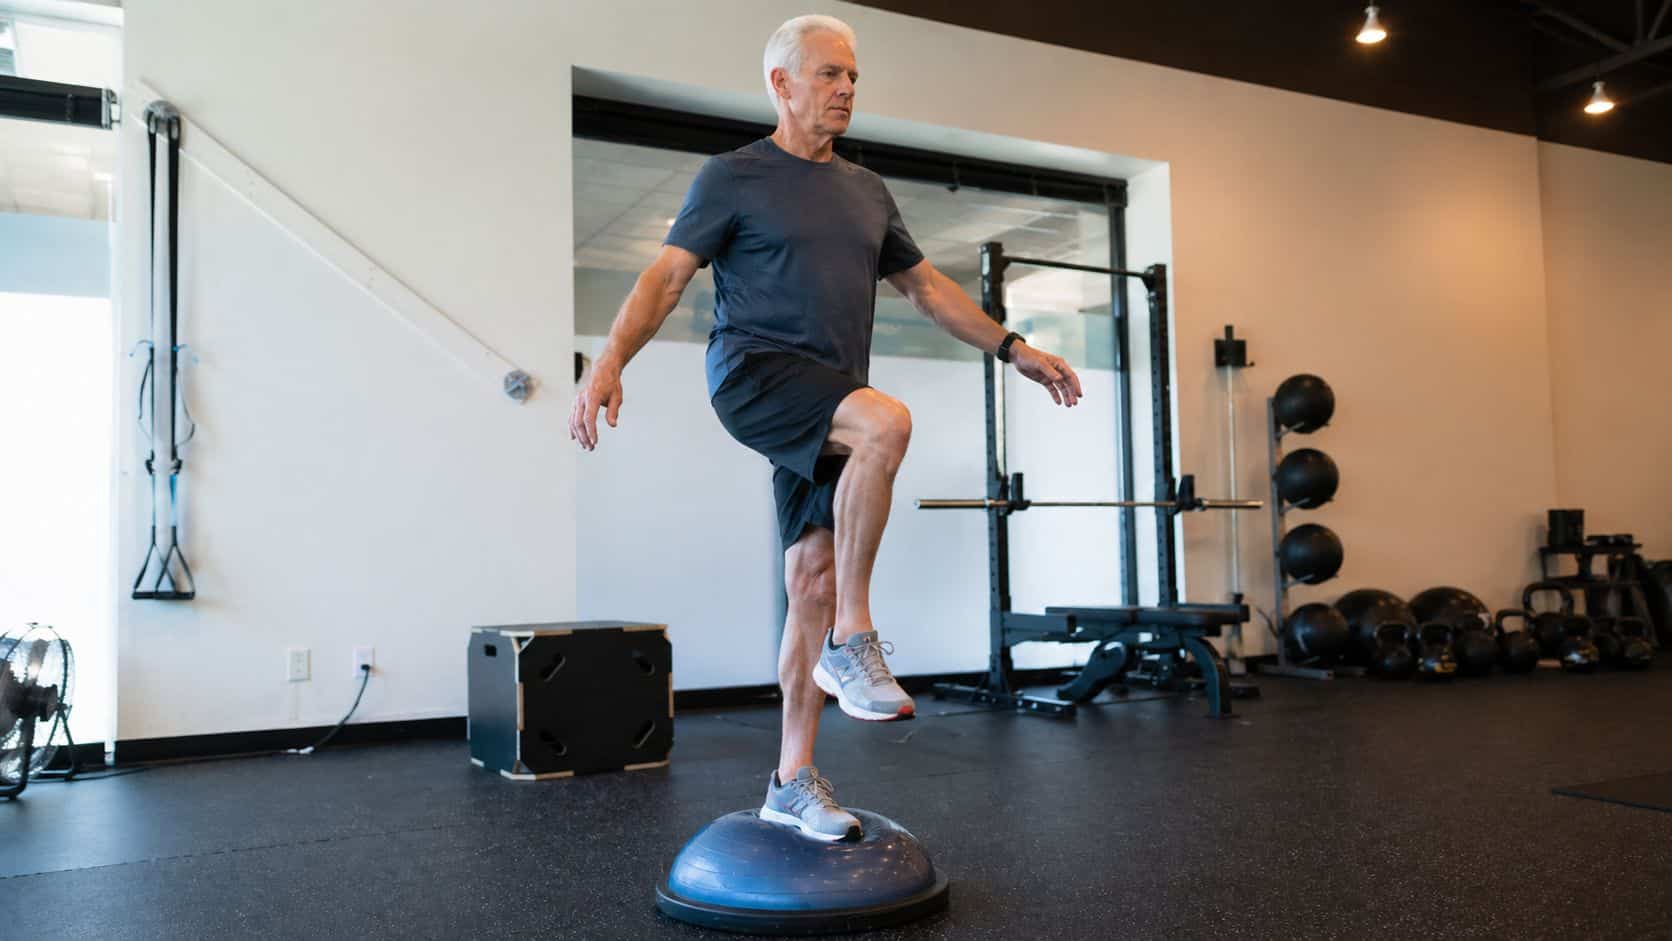
- May 6, 2026Maintaining good balance is fundamental to independent living and enjoying an active lifestyle, especially as we age. Balance training for…
- April 16, 2026Reclaim Your Stability from Dizziness and Vertigo Dizziness and vertigo can be profoundly disruptive, making everyday tasks feel daunting and…
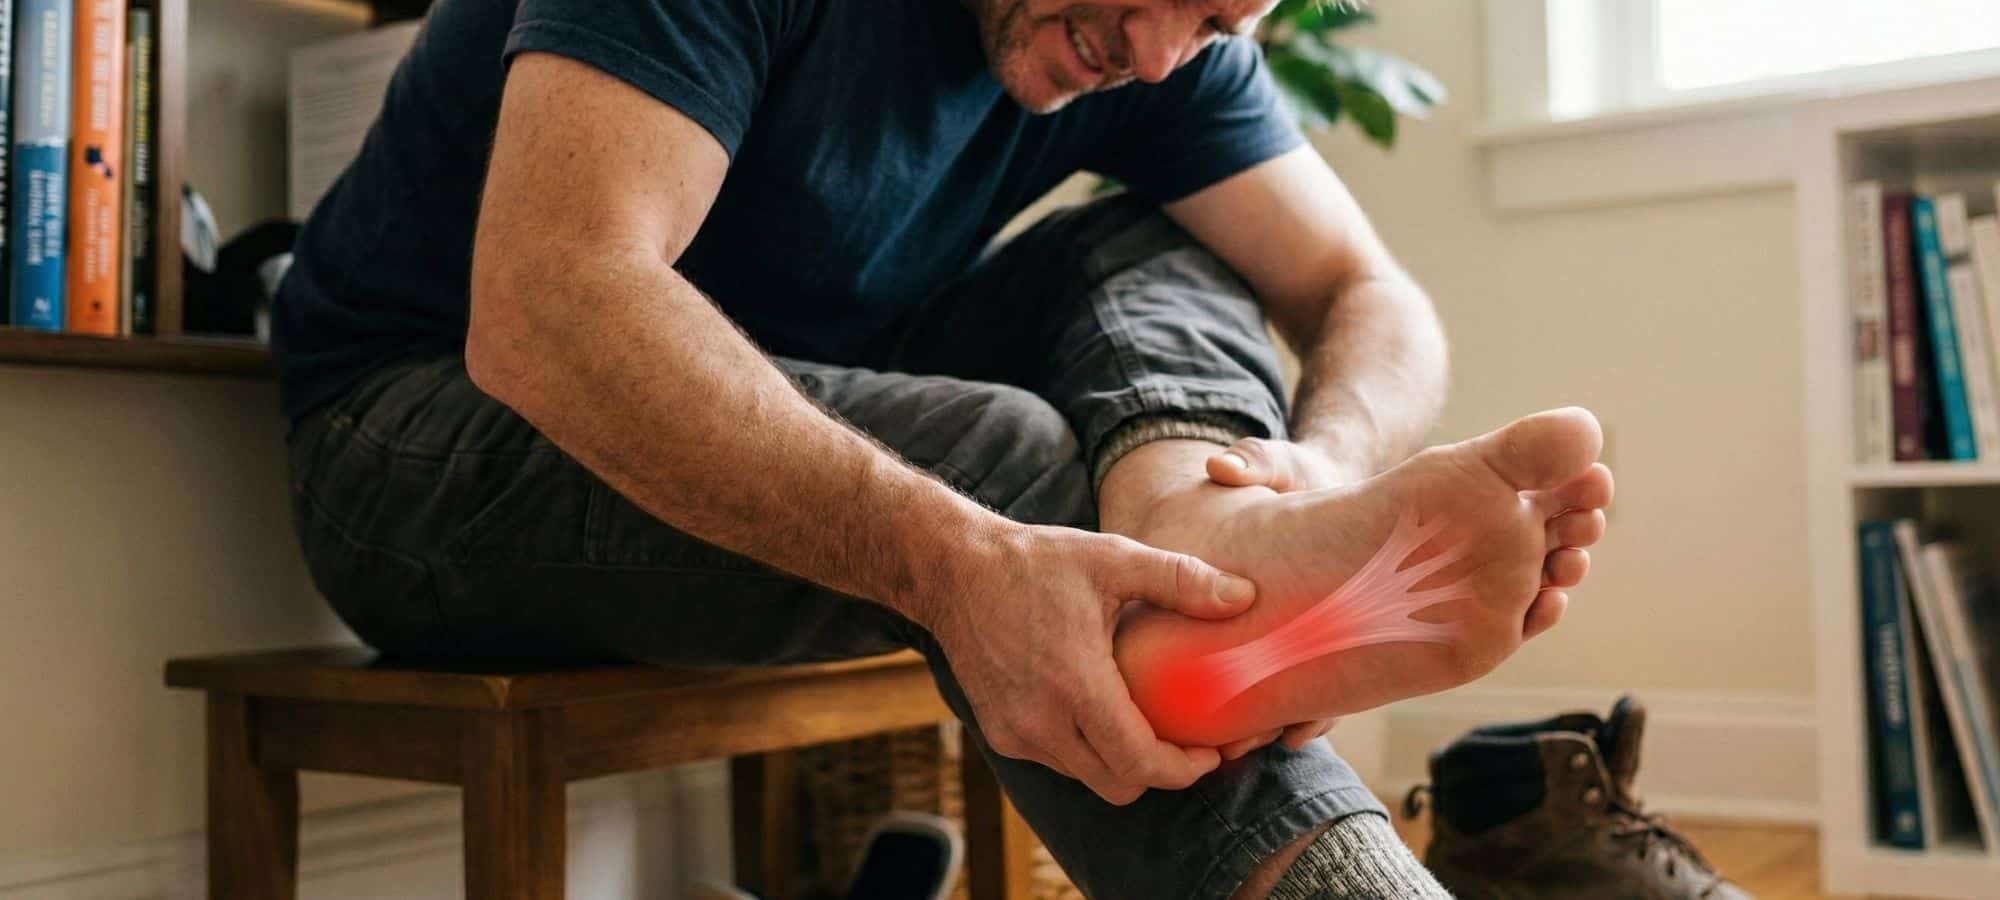
- April 8, 2026How Massage Therapy Helps Relieve Plantar Fasciitis Pain Plantar fasciitis can be a relentless source of heel pain, but massage…
- March 23, 2026Navigate Whiplash Recovery with Confidence Whiplash can be a disorienting and painful experience, but understanding its recovery timeline can empower…
- March 17, 2026Embrace a Pain-Free Pregnancy Hip pain is a common companion during pregnancy, but it doesn’t have to define your experience.…